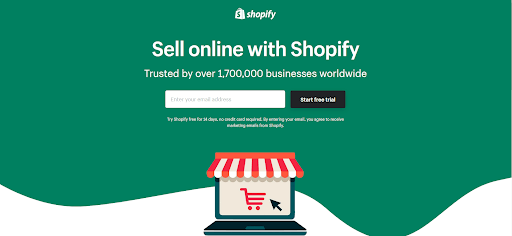
Shopify is a well-known name in the e-commerce sector. For $29 per month, you can establish a fully working online store that you can use to sell digital or physical items. Ready to learn how to create your own Shopify store? You’ve come to the right place.
In this article, we’ll demonstrate how to utilize Shopify to get an online store up and running as quickly as possible. Here’s a full walkthrough for you to follow.
Also, you can Hire Shopify Developers from Brillmark for building professional Shopify Store
What Is Shopify?
Shopify is one of the most successful e-commerce companies in the world. It’s widely considered the greatest all-in-one e-commerce platform, allowing you to create an online store, manage your inventory, and process orders all from a single dashboard.
Shopify offers three different plans:
Basic Shopify costs $29 per month and is ideal for new businesses or those with only occasional in-person sales.
The standard Shopify plan costs $79 per month and is best suited for growing businesses with a single retail location.
Advanced Shopify costs $299 a month and It’s suitable for growing businesses with two or more retail locations.
Shopify also offers a 14-day free trial period for businesses to get up to speed on the Shopify platform before fully employing it, and you are not required to give any billing information to try it.
Create Your Online Store With Shopify
It’s easy to sign up for Shopify and start your business. Since there’s a 14-day free trial, you can test out Shopify without having to provide payment information — you only need an email address. Once you decide to make your online store public, all that’s left to do is to choose a pricing plan.
Step 1: Sign Up for Shopify
Signing up for an account is the first step in setting up your Shopify store.
Go to the Shopify website and enter the required details, then click Start Free Trial.
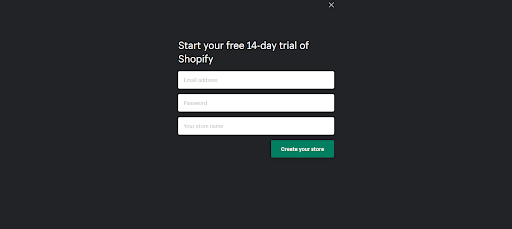
Enter the appropriate email address, password, and shop name. Remember that you must select a unique name for your shop, or Shopify will ask you to choose something else.
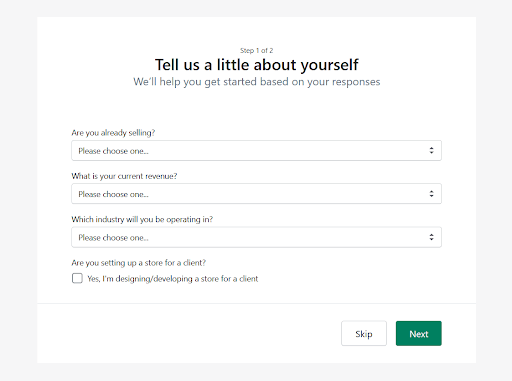
Tell Shopify about yourself by stating how much you intend to sell and whether or not you are currently selling. When finished, click Next.
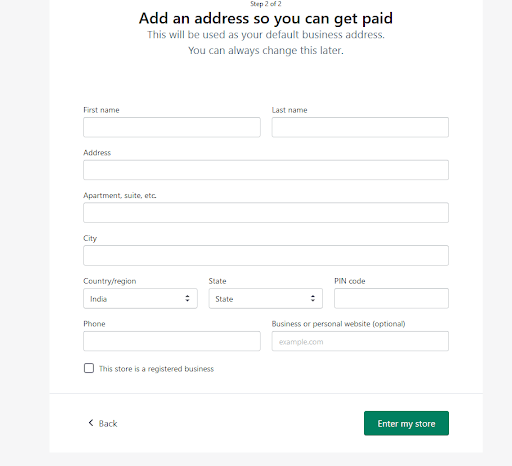
On the next screen, you’ll be asked to enter basic personal information such as name, address, and phone number, which will be used to adjust currencies and tax rates.
When finished, click the Enter my store button.
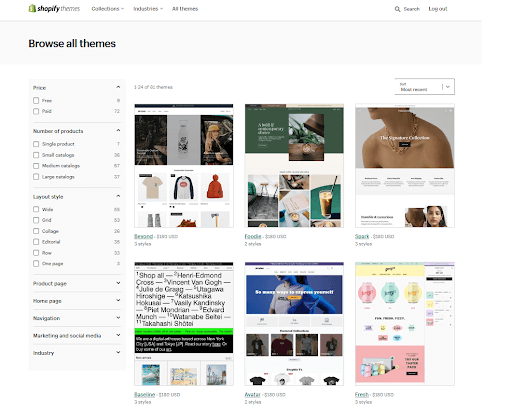
Step 2: Choose a Theme for Your Shopify Store
Shopify has its own theme shop. These templates are all assured to have complete designer assistance as they were created by expert designers, so you can be certain your shop is in excellent hands.
There are both free and premium themes available. All have a detailed list of adjustments you can make without touching a single line of code. Premium themes, on the other hand, often provide more customization possibilities and a slicker look.
For finding a theme that meets your requirements, we suggest the following:
Log in to Shopify and go to themes.shopify.com to browse the Shopify Theme Store. There are many theme variants to pick from, including a decent number of free ones.
When you’ve chosen a theme you like, click on the preview picture for that theme. You’ll be provided with more details about the theme, such as whether it is responsive/mobile ready, among other characteristics.
When you scroll down on the page you can easily read reviews and find out what others who use the theme think of it.
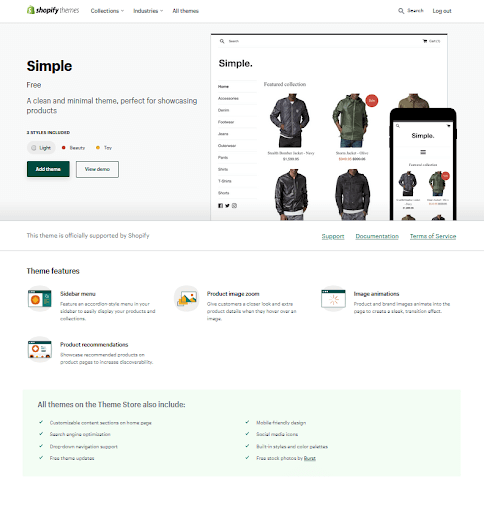
Click View Demo to see the theme in action. If the theme is available in a variety of styles, you can view demonstrations of the various styles by selecting them.
When you’ve chosen a theme you like, click the Add theme icon.
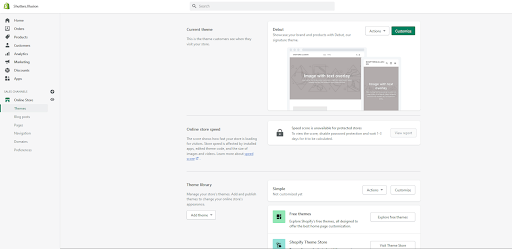
Shopify will begin the setup, and once completed, you’ll be brought to your Shopify Themes manager.
You can preview your theme from the dropdown menu of Actions in the current theme section to get an idea of how the website will look. You can also edit your theme under Theme Library, or pick Publish from the dropdown menu of Actions in the theme library section to replace the existing theme.
If you’re not certain it’s the perfect theme for you or if you think you might want to change it, you can always change it later.
Step 3: Edit the Shopify Store Settings
Most Shopify themes enable you to make easy adjustments that significantly alter the design of your online store, so you can be confident you won’t end up with a website that looks like a replica of hundreds of other stores.
To make a unique website, select Themes from the left navigation menu on your admin panel. On this page, you’ll see your Current theme in a box at the top, with two buttons in the upper right corner. The first is Actions, which allows you to make some simple configuration adjustments such as duplicate, preview, etc.
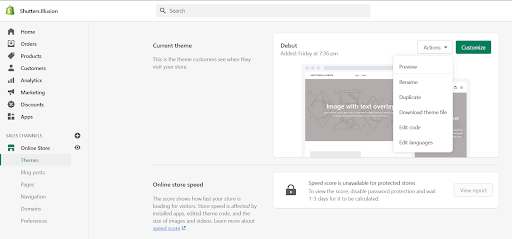
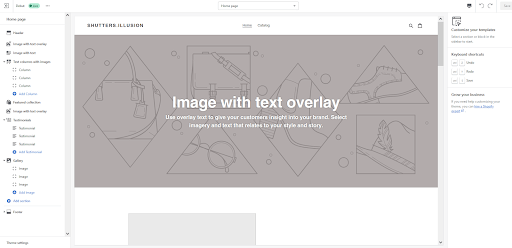
The second icon is Customize. If you select this, you’ll be brought to a page that manages all your store’s fundamental functions, such as color schemes, font choices, uploading logos, etc.
Step 4: Add Products to Your Shopify Store
After you join Shopify, you’ll be directed to the admin panel for your new website. This is where you can begin personalizing your store, adding goods, and setting up payments and shipping for your consumers to use.
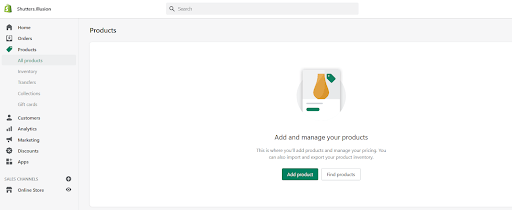
You can also set special instructions for the SEO assistant, such as name, title, and URL. Provide as much detailed information as possible so buyers can learn more about your product.

While customizing your store, don’t make the error of underestimating the value of your website’s graphics — this can make or break your chance of a sale.
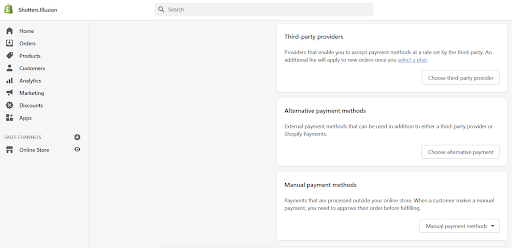
Step 5: Select Payment Gateways
A payment gateway (Settings > Payments) enables you to accept payments from clients through your website. It’s necessary to look at the pricing and commission rate, but it’s also crucial to examine what features they have. Payment gateways are not all made equal.
When deciding on the best payment gateway for you, consider the following factors.
Fees for Transactions
When a customer makes a payment, certain payment gateways will retain a modest percentage or flat charge (or both) for allowing you to utilize their service. Compare them based on the number of sales you expect.
Card Varieties
You also need to know the kinds of cards allowed by your selected payment gateway. All take VISA and Mastercard, with the majority also accepting American Express. Paypal is also gaining popularity for online payments.
Offsite Checkout
Several payment methods will accept payments on their servers using their own form. This implies that the consumer is removed from your checkout and is sent to the payment form provided by your payment gateway. When the consumer successfully pays, they are forwarded to your confirmation page. This gives you a little more control over the checkout process.
Payment gateway transaction costs are charged in addition to Shopify’s transaction fees. You may be able to save money on these extra charges depending on your Shopify plan. The different plans have varying charges.
Step 6: Go Live
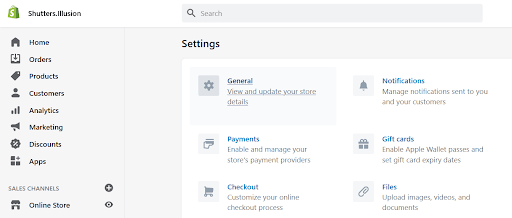
You must enter a few more facts about your company (as well as how you intend to make deliveries and pay taxes) before your site can go online. Go to Settings and click on General to check that all your company’s information is filled out in the bottom left settings box.
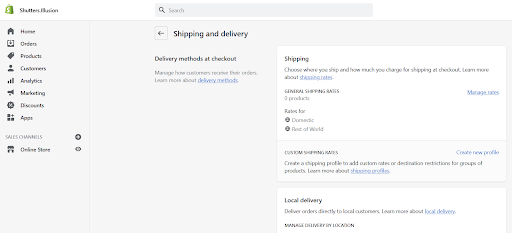
If you need to include taxes or shipping, make sure the checks next to Charge taxes and Requires shipment are checked.
If your delivery costs are too restrictive or you do not provide enough alternatives, you may lose some purchases. To avoid missing out on sales, check the Shipping rates area to check whether you have a weight-based shipping fee set, and if so, change it to your product’s specs.
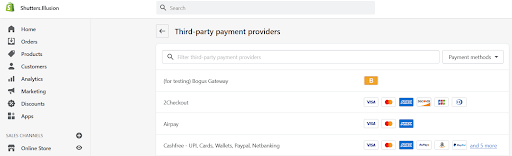
To check whether the system is working properly, you can use Shopify’s Bogus Gateway (Settings > Payments > Third-party payment providers) to simulate a transaction.
Make sure you take advantage of the Google Analytics functionality. This can be a great resource for tracking your store’s traffic.
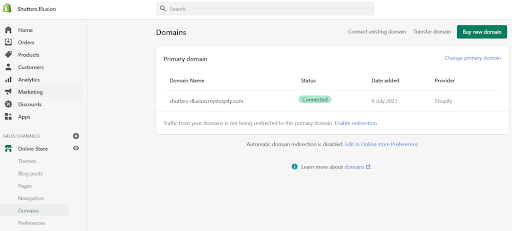
Step 7: Add a Domain Name
A domain name is required to launch your website. You have two options.
To begin, you can purchase a domain from Shopify, which will be instantly added to your store. This saves you time, especially if you are unfamiliar with website hosting. These domains generally cost between $9 and $14 USD per year. The second alternative is to buy a domain from a third-party provider, such as GoDaddy. These domains begin at $10.00 USD per year.
The disadvantage is that you will have to redirect the DNS records manually, which might be difficult at the beginning.
You can add multiple domains per the requirements, but remember that having multiple domains does not influence SEO.
Store Setup Complete!
Once you’ve completed all of these procedures, you’ll have a fully functional store online.
Congratulations — your new Shopify store is up and running!
Conclusion
We hope that through this article, you have a better understanding of how to build your Shopify store and explore the services and features provided by Shopify. You can rely on our well-regarded Shopify Development Service teams to handle everything from the initial setup of an online store to its ongoing management.
It’s very easy to build a store and do business on Shopify. But if you want to outsource conversion rate optimization (CRO) and get the most out of your Shopify store’s revenue, connect with us, and we’ll do the work for you.
Contact us to find out more.